
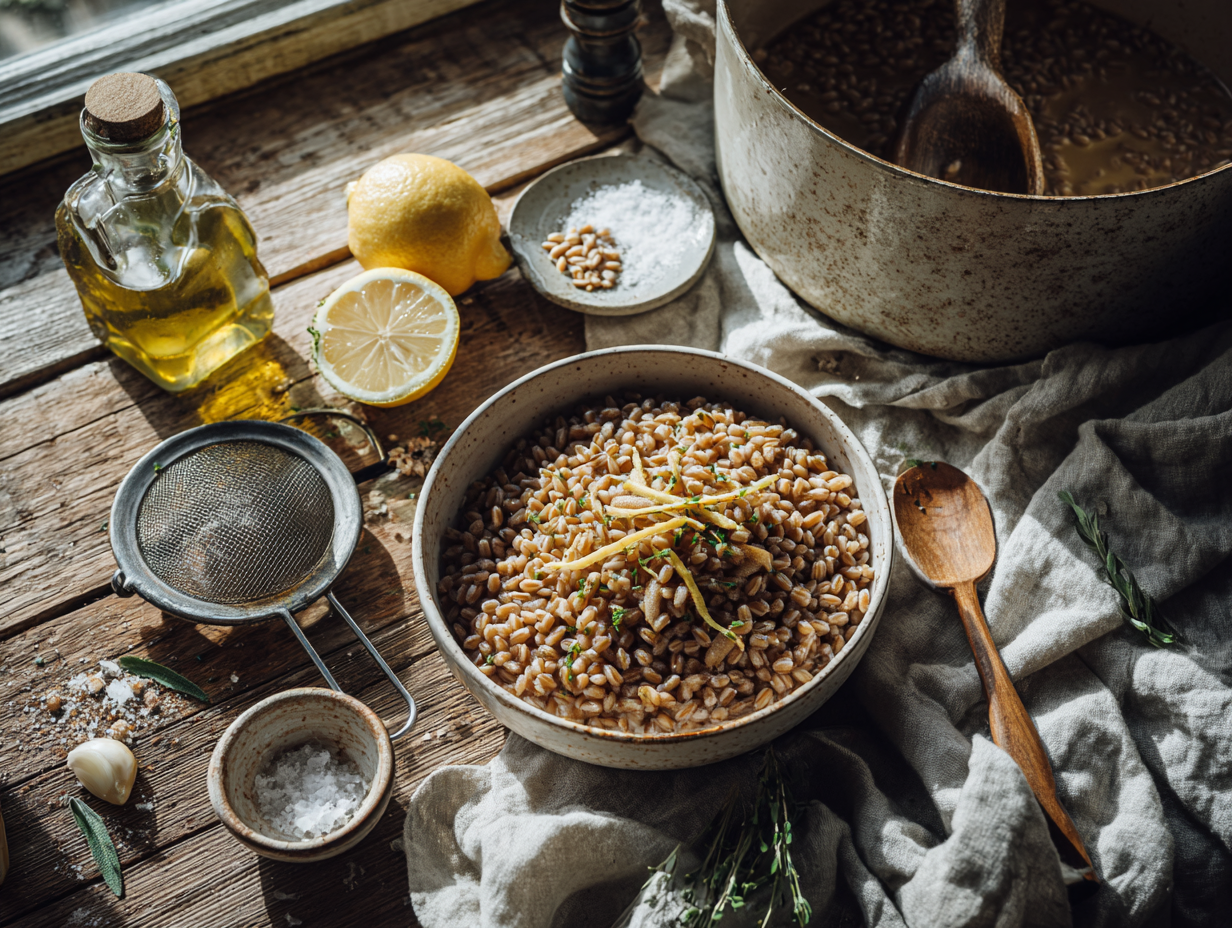
Farro is a chewy, nutty wheat grain that cooks on the stovetop in under 40 minutes and holds its texture whether you serve it hot, cold, or reheated two days later. It works as a side dish, a grain bowl base, or a salad ingredient — and it satisfies people who usually push grains around their plate without finishing them.
What makes this version work
Two things actually move the needle here. First, using semi-pearled farro (labeled that way on most US grocery store bags) gives you consistent cook times without the guesswork of whole farro, which can stay stubbornly firm even after 45 minutes. Second, the partial-cover method — lid slightly ajar rather than fully on or fully off — keeps the simmer steady without letting the pot boil dry or turn the grain waterlogged. A full lid traps too much steam and can make the farro gummy; no lid at all loses liquid too fast. That small adjustment is the difference between farro with a satisfying bite and farro that tastes like wet cardboard.
Storage and reheating
Cooked farro keeps in an airtight container in the fridge for up to 5 days. It also freezes well — portion it into zip-lock bags flat, freeze for up to 3 months, and thaw overnight in the fridge or directly in a pan. To reheat from the fridge, add 2 tablespoons of water or vegetable broth per cup of farro in a small saucepan over medium-low heat, stir, and cover for 3 to 4 minutes. The microwave works too — same splash of liquid, covered loosely, 90 seconds on high. Skip the garnish at the reheating stage — not worth the extra dish.
Troubleshooting
- Farro is still hard after the full cook time: The most likely cause is whole-grain farro rather than semi-pearled. Add another half cup of water, cover fully, and cook 10 to 15 more minutes. Next time, soak whole farro in cold water for 30 minutes before cooking.
- Too much liquid left at the end: Drain it off like pasta — farro can handle that. Unlike rice, it does not need to absorb every drop to finish cooking properly.
- Farro clumped together after cooling: Spread it on a sheet pan for 5 minutes after draining to let steam escape. Toss with a small drizzle of olive oil before storing if you plan to use it cold in salads.
- Bland, flat flavor: Farro cooked in plain water tastes noticeably less interesting than farro cooked in well-salted water or light vegetable broth. Salt the cooking liquid generously — it should taste lightly seasoned before the grain goes in.
- Mushy texture: This usually means the heat was too high and the exterior overcooked before the center hydrated. Keep the simmer gentle — small steady bubbles, not a rolling boil.

Basic Stovetop Farro (Vegan) — Nuttier, Chewier, Perfect Every Time

Equipment
- Medium saucepan with lid (2–3 quart)
- Fine mesh sieve
- Measuring cups and spoons
- Wooden spoon or silicone spatula
- Chef's knife
- Cutting board
- Microplane or fine zester (optional)
Ingredients
- 1 cup semi-pearled farro, rinsed seek organic emmer farro (farro medio) for best texture; semi-pearled cooks reliably and still tastes nutty
- 3 cups water or unsalted low-sodium vegetable broth broth adds savoriness; choose a clean, not-too-sweet brand
- ½ tsp fine sea salt adjust to taste if using broth
- 1 small bay leaf (optional) for a gentle, herbaceous backbone
- 1 clove garlic, lightly crushed (optional) subtle savor; remove before serving
- 1 tsp extra-virgin olive oil (optional, for finishing) adds gloss and rounds the grain’s nuttiness
- 1 tsp fresh lemon zest (optional, for brightness) zest just the yellow; the pith is bitter
- 1 pinch freshly ground black pepper (optional) to taste, crack fresh for aroma
Instructions
- Rinse the Farro: Place the farro in a fine-mesh sieve and rinse under cool running water for 20–30 seconds, rubbing the grains lightly between your fingers. This removes excess starch and dust, helping the grains cook up distinct and glossy.
- Flavor the Cooking Liquid: In a medium saucepan, combine the water or broth, sea salt, bay leaf, and crushed garlic. Bring to a rolling boil over medium-high heat—about 212°F (100°C). You should see vigorous bubbles and steady steam.
- Add the Farro: Stir in the rinsed farro, return to a brief boil, then immediately reduce to a gentle simmer. Aim for small, lazy bubbles—approximately 185–195°F (85–90°C). Partially cover the pot to minimize evaporation while avoiding boil-overs.
- Simmer Until Pleasantly Chewy: Cook, stirring once or twice, for 25 minutes for semi-pearled farro. The grains are done when they are plump, hydrated, and tender with a slight al dente bite—taste a few to be sure. If the liquid reduces too quickly before tenderness, add hot water in 1/4-cup increments to finish.
- Finish and Rest (optional but lovely): Remove the bay leaf and garlic. Off the heat, swirl in the extra-virgin olive oil and lemon zest for sheen and brightness. Cover and rest 3–5 minutes to let steam relax the grains—this is optional and not included in the stated cook time.
- Fluff and Season: Fluff with a spoon to separate the grains. Taste and adjust salt; add a crack of black pepper if you like. Serve warm as a base, a side, or cool for salads.
Notes
Mary’s Tips:
- Toast for Deeper Flavor: After rinsing, dry the farro briefly and toast it in the saucepan over medium heat for 2–3 minutes until nutty and lightly fragrant before adding hot liquid. This enhances complexity without extra ingredients.
- Broth Savvy: If using broth, start with less salt and season at the end; broths vary widely in salinity.
- Whole Vs. Semi-Pearled: Whole (unpearled) farro can take 35–45 minutes. Soak 8–12 hours to reduce cooking by ~10–15 minutes. Pearled cooks fastest (15–20 minutes) but is less chewy.
- Alternative Grains (gluten-free): For a similar technique, try sorghum or short-grain brown rice with adjusted times (brown rice ~35–45 minutes). Not farro, but a nice swap if avoiding gluten.
- Instant Pot: 1 cup semi-pearled farro + 1 3/4 cups water, pinch of salt. Cook on High Pressure for 10 minutes, natural release 10 minutes; fluff.
- Rice Cooker: 1 cup farro to 2 1/2 cups water on Brown Rice setting. Let rest 5 minutes after the cycle ends.
- Layered Seasoning: Slip in a strip of lemon peel, a crushed juniper berry, or a thyme sprig while simmering for subtle aromatic nuance.
Serving Suggestions:
- Plating: Spoon farro into a warm, shallow bowl so the grains spread in a gentle oval. Finish with a thread of olive oil, a dusting of lemon zest, and a pinch of flaky salt.
- Garnish: Shaved fennel, chopped parsley or chives, and toasted almonds or pumpkin seeds add freshness and crunch.
- Pairings: Serve alongside roasted carrots and tahini, garlicky sautéed greens, or a citrus-dressed arugula salad. A chilled sparkling water with lemon complements the grain’s nuttiness.
- Visual Cues of Perfection: Grains should glisten, remain separate, and show a tender center with a chewy edge—no mush, no chalky core.
Culinary Context:
Farro—especially emmer—has deep roots in Italian cucina povera and across the Mediterranean, where its resilience and flavor earned it a spot in rustic soups, salads, and grain bowls. I first fell for it in Umbria, where a simple pot of farro with olive oil and lemon quietly outshone more elaborate dishes. This method honors that simplicity.Optional Advanced Instructions:
- Make-Ahead: Cook farro up to 4 days in advance; cool quickly on a sheet pan, then refrigerate in an airtight container. Reheat with a splash of water over low heat.
- Parallel Prep: While the farro simmers, prep garnishes or roast vegetables to land on the plate at the same time.
- For Salads: Drain any excess liquid well and spread the cooked farro to cool so it stays bouncy, not steamy or clumpy.
Timing:
- Prep Time: 0 hours 5 minutes
- Cook Time: 0 hours 25 minutes
- Total Time: 0 hours 30 minutes
Course & Origin:
- Course: Lunch, Dinner
- Cuisine/Origin: Italian, Mediterranean
Nutrition
Common questions
Does farro contain gluten?
Yes, farro is a wheat grain and contains gluten. It is not safe for anyone with celiac disease or a serious wheat allergy. Some people with mild wheat sensitivity report tolerating it better than modern bread wheat, but that is not a reliable substitute for medical guidance.
What is the difference between whole, semi-pearled, and pearled farro?
Semi-pearled is the most practical choice for everyday cooking — some of the bran has been removed, so it cooks in 25 to 35 minutes without soaking. Whole farro has all its bran intact and needs soaking or a longer cook time. Pearled farro cooks fastest but has a softer texture that some people find less interesting.
Can I cook farro in a rice cooker or Instant Pot?
Yes to both. In an Instant Pot, use a 1:2 farro-to-water ratio and cook on high pressure for 10 minutes with a 10-minute natural release. In a rice cooker, use the same 1:3 ratio from the stovetop recipe and run it on the white rice setting — check at the end and drain any excess liquid.
How do I know when the farro is actually done?
Bite into a grain — it should be tender all the way through with a firm, chewy center, not crunchy or gritty. If the center still feels hard, it needs more time regardless of what the clock says.
Can I make this ahead for meal prep?
Farro is one of the better grains for meal prep because it does not get soggy or fall apart after a few days in the fridge. Cook a full batch on Sunday and use it across the week as a bowl base, stirred into soups, or tossed cold into salads straight from the fridge.
Try these next
- Mediterranean Lentil Power Bowl
- Roasted Vegetable Macadamia Dukkah Salad
- Brightened Bulgur Wheat Salad
- Smoky Spanish Chickpea Stew